Backcountry adventure and cuisine for aspiring hiker trash
Slingfin SplitWing UL Tarp
Possibly MY ultimate tarp
If you read this blog, you know that I love my HMG Echo II tarp. I almost always bring it as my backup shelter on AT section hikes, and I’ve played with it some on other hikes where bug pressure wasn’t a problem (I just haven’t been able to get into using a bivy). But I’ve got some hikes coming up in the next few months where I’ve dreamed about having a tarp with a little bit more weather (read: rain) protection. Like something with a beak maybe.
I’ve eyeballed the MLD Patrol Shelter, and thought about the ZPacks Pocket Tarp with doors (too small). HMG, at least AFAIK, doesn’t sell their beak separately, and it looks pretty futzy to set up anyway.
And then one day a thread popped up on the UL subreddit about the Slingfin SplitWing Tarp. I investigated, and found it intriguing. Plus, I hadn’t made a gear purchase in, I don’t know, 2 weeks at least. So we know how this ended.
Interestingly, this tarp isn’t made from DCF (they use something called Nylon66) yet comes in about 1.5 ounces lighter than my Echo II. You can also purchase a separate integrated groundcloth (also slightly lighter than my HMG cuben groundcloth) and a very lightweight “vestibule.” Not only that, the system uses fewer stakes than my Echo II. So of course I purchased all of it. Now, I did show restraint in not purchasing the mesh inner tent designed to be used with this system at least. It doesn’t suit MY needs, but it looks pretty cool as well.
Let’s back up a bit first. Slingfin is a 3-person operation founded nine years ago by Martin Zemitis, one of Mountain Hardwear’s co-founders who had previously also designed for The North Face and Sierra Designs. It seems like he wanted some design freedom, and thus Slingfin was born. After initially focusing on alpine tents, the company has broadened their offerings. They have some impressive-looking UL tents such as The Portal (you can read CleverHiker’s review of that particular tent HERE). And eventually they worked their way to a tarp.
The SplitWing is designed with “achieving the lowest weight possible without compromising weather coverage” in mind. Doesn’t that sound like just what I was looking for?

“The SplitWing and its modular accessories are adaptable to the wide range of conditions that are likely to be encountered on a 4-month-plus adventure. ” Slingfin also describes it as “damn light,” and they’re right.
More from the Slingfin website:
“Unlike most shaped tarps, the SplitWing can be pitched with the front trekking pole anywhere between 105cm-120cm thanks to its front “wings”, allowing you to prioritize floor area and storm protection with a low pitch, or provide generous headroom when pitched high. It’s closed at the foot end to reduce drafts and increase weather protection.
The optional vestibule covers the front opening of the tarp, providing 360-degree coverage, perfect for those who are looking for the light weight of a minimal tarp shelter but would rather not give up the comfort and security of a tent.”
My components arrived in the mail yesterday, and I didn’t have anything to do today until a cookout this evening, so I went outside to play around with it. This involved taking one for the team, because today it’s 94 degrees and at least 94% humidity. I was soaked in sweat almost immediately. And I sat in a mess of ants too. So you better appreciate this.
I only ran into 2 minor problems, which I’ll discuss below. One of them is probably operator error (I exist to fail) and the other is the fault of my trekking poles, not the tarp itself.
Setup was surprisingly easy, even for somebody who NEVER gets it right the first time. I came close.

I was shocked that the components were so light. In fact, this was the rare purchase where everything weighed what the specs said it would.
The tarp sack is supposed to weigh 11.1 oz. That includes stuff sack, tarp, stake bag and stakes, and additional guylines. And on my scale, it weighed…..11.1 oz. The tarp itself is supposed to weigh 7.9 oz. and mine weighed 7.8. The 6 stakes were 2.4 oz. I will probably swap them out for slightly lighter ones. But so far, so good.
The groundcloth bag weighed 3.4 oz., of which 3.2 oz. was the groundcloth itself. It was spec’d at 3.4 oz. on their website. WIN.
The vestibule bag weighed 2.2 oz., of which 2.0 oz. was the vestibule (spec’d at 1.9 oz.) Close enough.
I will squeeze the tarp, stakes, vestibule and groundcloth into one appropriately-sized DCF sack, which in total will weigh 15.0 oz. In contrast, my Echo II setup (which doesn’t have beak/vestibule coverage) including groundcloth and stakes is 15.5 oz. So I can cut a smidge of weight AND get better weather coverage.
Slingfin states that the floor area under the tarp measures 90″ x 60-72″ at the head end depending upon pitch height, and 36″ at the foot end. The groundsheet/floor measures 80″ in length x 55″ at the head and 30″ at the foot.
If I were setting it up without the vestibule, I would set the front trekking pole at 120 cm (47 inches) but they state to use 110 cm (43 inches) when using the vestibule.
You’re supposed to set your rear trekking pole to it’s shortest length, and my Gossamer Gear poles apparently don’t get quite small enough for an optimal pitch. Still worked reasonably well though.

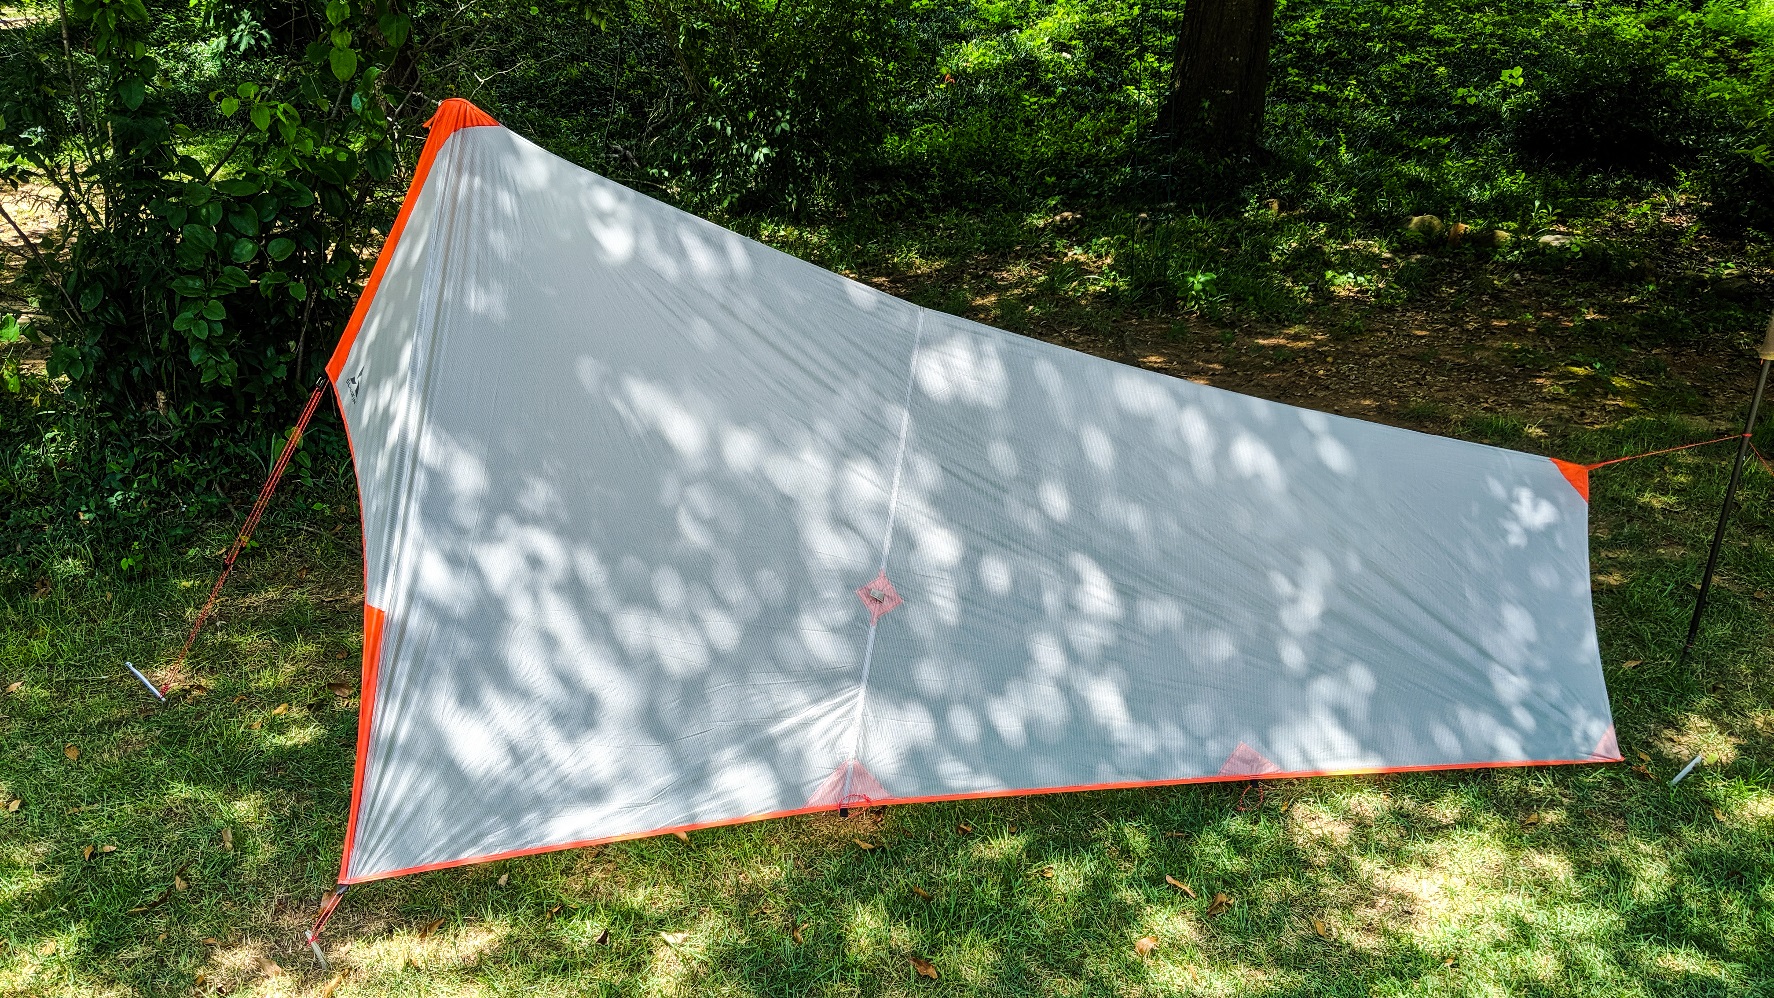
The “split wings” at the front actually don’t stick out THAT far, but they do provide a degree of extra coverage on their own
The paired front guylines pitch jointly onto a single stake. They join at the tarp with a slick clip apparatus. You can detach one and roll back a wing if you need more of a “door” for entry and exit.

To pitch the tarp, first you stake out the rear corners taut, then you use a clove-hitch to attach the rear guyline to your shortened trekking pole before staking it to the ground. I actually think you’re supposed to pitch it handle down FWIW.

After staking out the rear trekking pole, you maintain tension on the ridgeline as you walk to the front, then stake out the front pole and then the front corners.

I managed to get a reasonably tight pitch the first time despite bumbling around with the rear pole.
At this point, I crawled in to check out the space and it seems roomy enough for a couple, but absolutely palatial for a solo hiker.

Next, I attached the grouncloth. It has short adjustable lines at each corner. Once you set the proper length, you just slip their loops over the corner stakes.

The Slingfin folks have thought of a lot of the fine details- the groundcloth comes with anti-slip dots. I have always hated how much my sleeping pads slide around on a DCF groundcloth, so this will be appreciated.


Notice also in the above photo the orange diamonds on the seams of the wall on each side. Those are where on the outside you would attach the optional external guylines, both for additional storm-worthiness, and to pull the sidewalls out to give you a little more room.

It was now time to add the vestibule. It is an extremely well-thought out design. The vestibule comes with a pole cup. You insert your pole handle into it, then insert it into the reinforced cup area on the tarp.

The corners of the vestibule have buckles that clip to the corners of the tarp, and are reinforced by an adjacent strip of velcro for additional security.

The front guyline of the vestibule then stakes to the same front stake used for the trekking pole. I struggled a little bit to get the guyline lengths for each matched properly, but that’s operator error and inexperience. Here’s what the finished product looked like:

Now, there’s no zipper in the center of the vestibule. To open it, you unclip one of the corners and roll everything to the side, as below:

I’d say with practice I could set the whole works up in 5 minutes. Using just the tarp and groundsheet will be even quicker, and that’s what I plan to do when this gets tested for the first time in Zion the first week of October. I was able to take it all down and put it away in about a minute. Super easy.
My first impression is that this is an exceptionally well-designed system. I can’t wait to see how it performs on the trail. I will be watching in particular for durability, condensation management, and weather protection.
Oh, since it’s made from a proprietary 10D Ripstop Nylon Sil/Sil fabric (Nylon66) instead of DCF, it’s surprisingly affordable. The tarp is $165, the vestibule is $50, and the floor is $65. That’s $280 for a complete system. If it works on the trail as good as it looks in my yard I will be super stoked- a 15 oz. shelter system that packs down to almost nothing (another advantage over DCF shelters by the way). Now I just need to find a storm….
“I was soaked in sweat almost immediately. And I sat in a mess of ants too. So you better appreciate this” – appreciate your sacrifice to bring this great read. Super informative and can’t wait to hear more after your trip.